

If you’re looking for a fun and creative project to keep you busy during this Covid-19 stay-at-home order, try planting a vegetable garden.
Gardening is one of my favorite forms of creative expression, so I decided to make a vegetable garden even though our yard had limited available space.
This video will take you through a visual step-by-step process my husband and I used to create this quaint vegetable garden. Vegetable Garden Part I

Step 1: I planted an assortment of seeds ahead of time, in addition to using some plants purchased and others gifted from my step daughter, gardener extraordinaire Crafty as B Bradley.

Step 2: We selected an area that was sunny most of the day and cleared all foliage.

Step 3: I decided on galvanized garden containers from Bestnest.com. Buyer beware, they looked powder coated in the online photo.
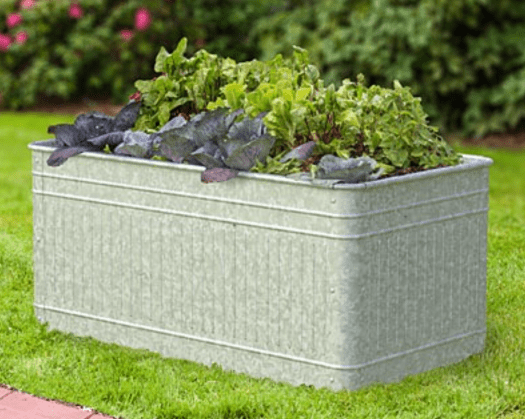
Even though they arrived shinier then I’d anticipated, we decided to keep them and figured they would age with time.
Step 4: We put down 2 layers of weed barrier landscape fabric to keep weeds out because the planters didn’t come with bottom plates.

Step 5: My husband used the existing hose drip system and inserted longer attachments that reached to the top of the planters.

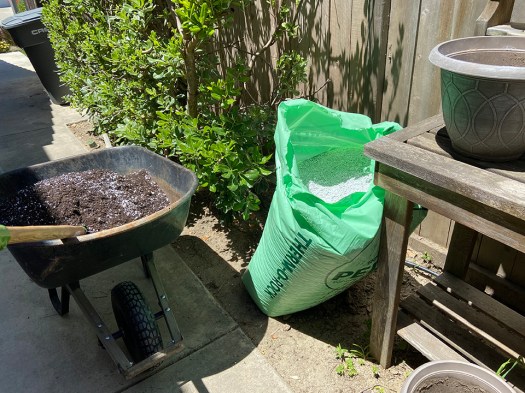
Step 6: Hubby got 1.25 cubic yards of “Nursery Blend” with mulch and sand.
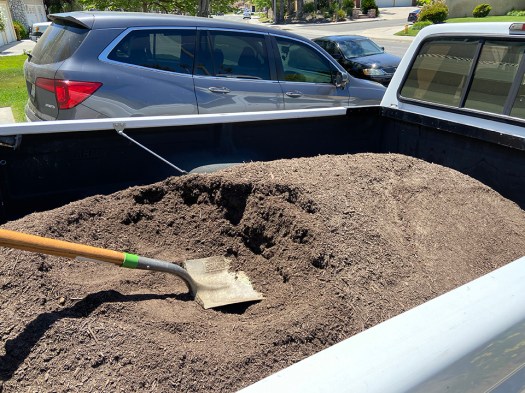
We mixed in perlite to keep the soil loosened so it wouldn’t become compacted over time.
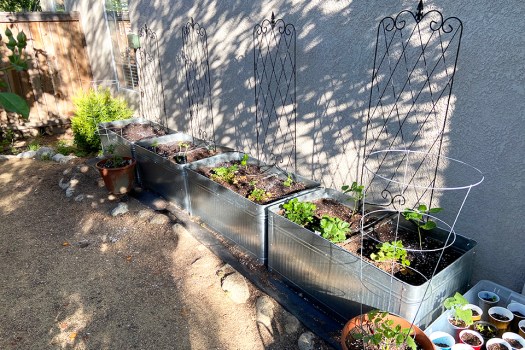
Step 7: I transplanted the plants and added some pots and cages for the tomatoes.

Step 8: The trellises arrived and we added them so the beans and peas could climb.
I’ll create more posts to show how the garden progresses.
